
In my previous blog, I discussed about the XMCloud Introduction and features of XMCloud. In this blog I will show, how to create a new Project and environments in the Sitecore XM cloud. In the next blog, I will show how easily you can set up your local app development for XM Cloud and run the Sitecore XM Cloud project on your development machine.
Prerequisites:
• You must have one Organization account in Sitecore portal (https://portal.sitecorecloud.io/ ) which has access to XMCloud. And your account should be associated with that Organization account with admin access.

• Organization must have proper Sitecore licensing to run the XMCloud site in local docker environments.
• Create your own Github account to link with XMCloud project.
Steps to setup your project
1. Click on “Manage My projects” menu to open https://deploy.sitecorecloud.io/projects.io/projects site to Create a new project or manage existing one.
2. Then click on “Create New Project” button to create a new Project. It will open a popup to choose starter template, select XM Cloud Stater Foundation-

3. Then select a starter template.

4. Next Step is to provide Your project name; in My case this is XMCloudDemo

5. Then you need to provide Github URL for your Project source control. If you already added the Github Account detail previously then you can choose from existing and create a repository and branch.


6. Next step you need to provide environment detail, set “Development” in Environment Name and Set No value to Production Environment and Trigger Deployment on Commit to Branch. And click “Create and Deploy”. Please note, you can create multiple environments for a project like “QA”, “Stage” or “Production”.

7. It will take a few minutes for this project to get deployed.

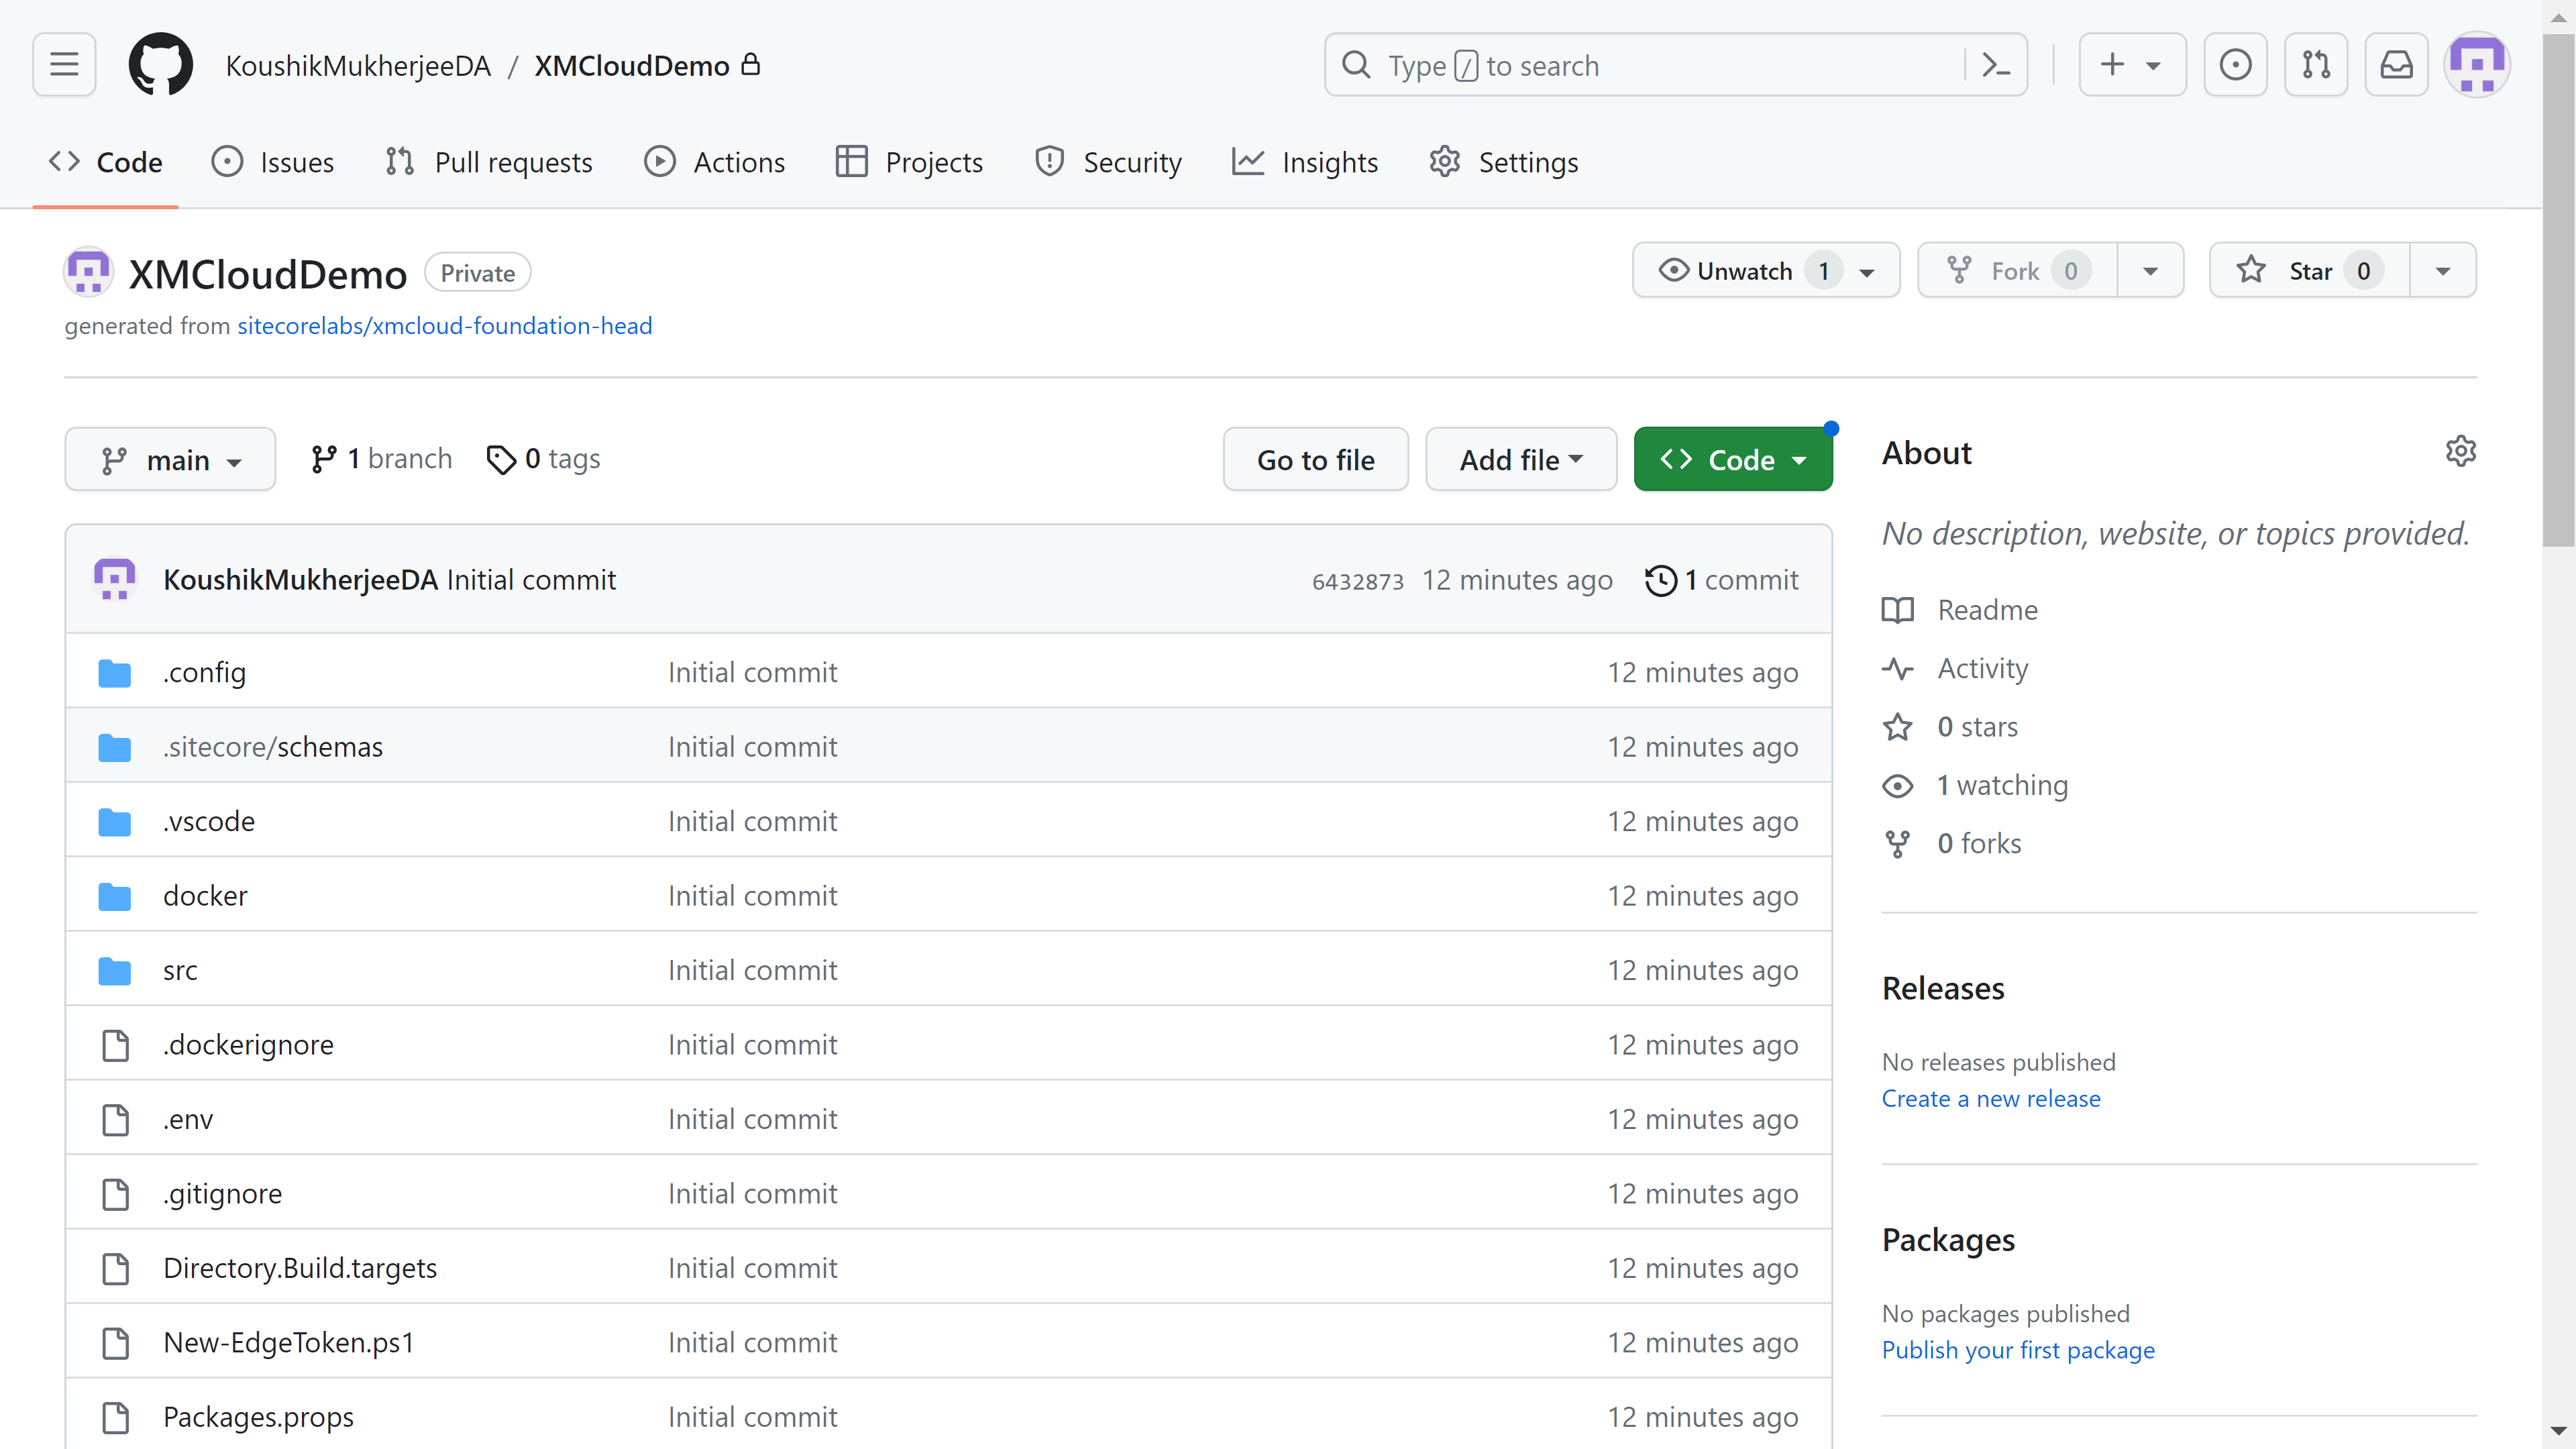
8. Once deployment completes, you can see the project repository in you Github also.
9. Now the deployment is done and our XM Cloud instance is up and running. Now click on Launchpad and go to the Sites tab create your first XMCloud site instance there. Click on create website, it will give you option to choose default template, in my case I choose “Basic Site”.

10. In the configure tab, you need to provide Sitename and default language. Then click on Create Website. Till will take 3-4 minutes to create and build the website.

11. Once the website is created, you are all set to explore the Launchpad (Tools), Content Editor, Experience editor and also can explore pages.

12. You will see in the Sites tab, the demo website is already set up. Click on it and it will open the website in Page editor.

In this blog we discussed how to create a new Project and website within Sitecore XMCloud Portal. Next blog we will discuss How to run XMCloud Project in your development environment.
Happy Sitecoreing 😊


Nice article which covers detailed steps to setup Sitecore XM Cloud.
ReplyDeleteThank you for this informative blog!