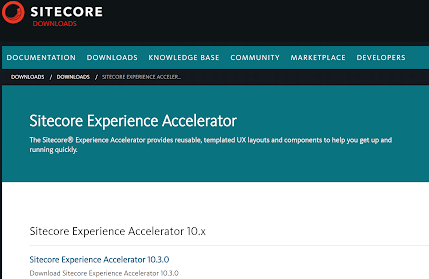
Install Sitecore Experience Accelerator - Powershell Script
To install the Sitecore PowerShell package, follow these steps:
- Step 1: Download the Sitecore Package or zip file to your hard drive from https://dev.sitecore.net/Downloads/Sitecore_Experience_Accelerator.aspx.
- Step 2: Then log in to the Sitecore Panel where you intend to install the Sitecore Package and go to the Desktop.
- Step 3:Now click on the Start Icon, navigate to Development Tools, and select Installation Wizard. In the Installation Package window, click on the upload button, prompting a file selection popup window.
- Step 4:Upload Sitecore PowerShell package from your machine to the respective location and click the next button.
- Ensure to select the "Overwrite existing files" checkbox to overwrite Sitecore items if they already exist in the Sitecore environment.
- Click on the upload button and select close in the next window.
- Step 5: Click on the Next button, review all the information in the subsequent windows, and select the Install button.
- Accept license agreement.
- Once done, choose the "Restart Sitecore Client" checkbox and click on the close button.
Now you should view "Powershell ISE" and "Powershell Reports" icon in Launchpad.


Comments
Post a Comment