Prepare the GitHub Repository
-
Create a public GitHub repository and commit/push your code.
-
Set environment-specific values in the
.envfile. -
If you’ve made content or layout changes in your local XM environment, use the Sitecore CLI to publish those changes and verify that the content is available on Experience Edge.
-
In your XM Cloud instance, publish all content and layout changes you want reflected on the live site.
Connect Your GitHub Repository to Vercel
-
Sign in to Vercel at vercel.com.
-
You can log in using GitHub authentication, or navigate to:
Profile Icon → Account Settings → Authenticationto connect GitHub manually.
-
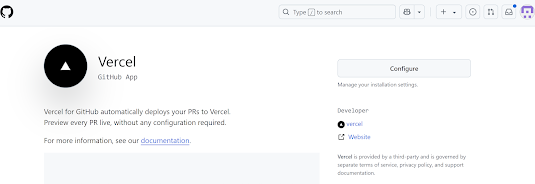
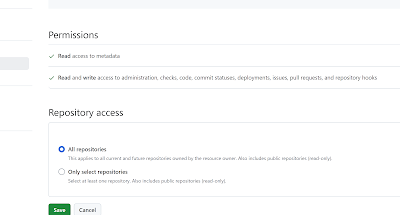
It is recommended to install the Vercel GitHub App by visiting: https://github.com/apps/vercel
Deployment Setup in Vercel
-
Go to the Vercel Dashboard → Add New → Project
-
Click "Continue with GitHub", then select your GitHub account and the desired repository.
-
Provide a project name.
-
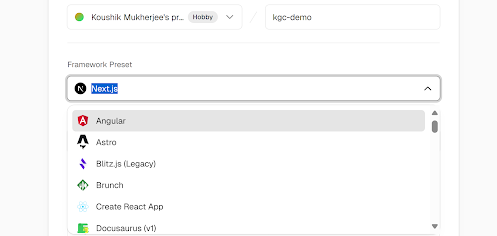
Choose the framework preset — in our case, select Next.js.
-
Set the Root Directory to
headapps/nextjs-starter.
6. Add Environment Variables
Manually add the following environment variables as key-value pairs (or import from
.env):
7. Once done, click "Deploy".
Live Deployment
-
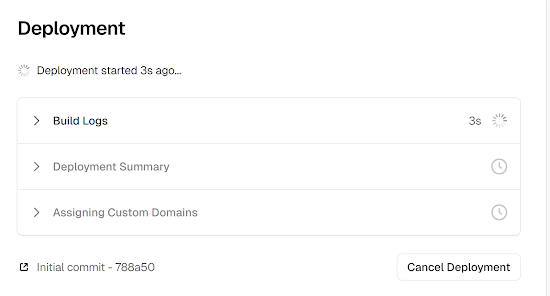
Vercel will now show the deployment progress in real-time.
-
It automatically optimizes your Next.js app, including static generation and serverless functions.
-
Once deployment completes, Vercel provides an instant preview URL for your live app.
-
You can also configure a custom domain via the "Add Domain" page in the dashboard.
Conclusion
Deploying a Sitecore XM Cloud integrated Next.js application on Vercel is a straightforward and efficient process. With Vercel's seamless GitHub integration, real-time deployment previews, and built-in support for modern frameworks like Next.js, it offers a developer-friendly and scalable solution for headless CMS deployments. By properly configuring environment variables and deployment settings, you can ensure a smooth and automated workflow for your frontend delivery.










No comments:
Post a Comment